My blog has moved!

You will be automatically redirected to the new address. If that does not occur, visit
http://mycupcakenotebook.com
and update your bookmarks.

Monday, December 29, 2014

Vanilla and Hazelnut Cake

Hello everyone!

Today's cake is a delicious vanilla and hazelnut cake. It's very sweet, but in a soft way, and its buttercream its made with pure hazelnut paste.


You can find the pure hazelnut paste in specialized shops, along with countless other flavours. So if you want to do this buttercream in any other flavour, you can do it!


This is a swiss meringue buttercream, which I love because of its smoothness and the fact that it doesn't need 400g of confectioners sugar to be made. This buttercream, but with milk chocolate, is the same that I used in the Chocolate and Vanilla layer cake.


Basic Vanilla Cake

Ingredients (yields a 20cm diameter cake)

  • 170g butter (room temperature)
  • 140g sugar
  • 3 eggs
  • 140g flour
  • 1 ½ tsp baking powder
  • 2 Tbs milk
  • ½ tsp vanilla extract


Directions

  • Pre-heat the oven at 180ºC (356ºF). Grease the cake pan with butter.
  • Whisk the butter and sugar up until getting a smooth batter. Add the eggs, one by one, beating well after each addition.
  • In a separate bowl, mix flour and baking powder and add it to the previous mix, beating until well incoporated.

  • Add the milk and vanilla extract.

  • Pour the batter in the cake pan and bake for 35-40 minutes. To check if it is done, test it with a toothpick by inserting it in the middle of the cake.


Hazelnut Swiss Meringue Buttercream

Ingredients (to decorate a 20cm diameter cake)

  • 3 egg whites
  • 150g sugar
  • 180g butter (room temperature, cold)
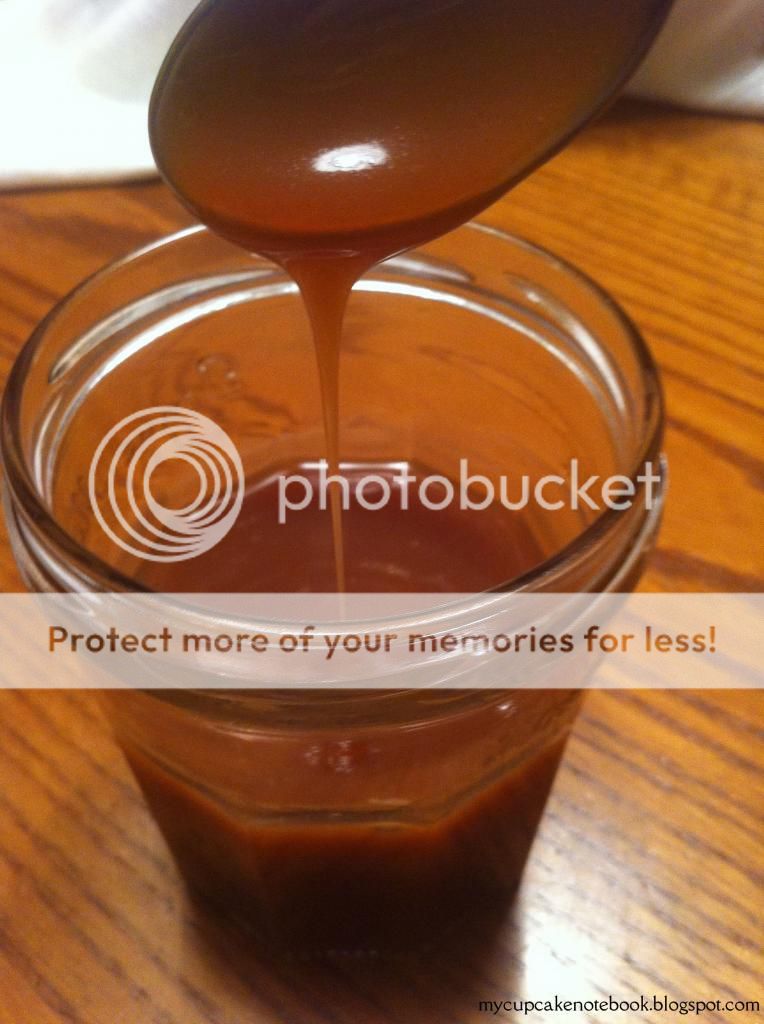
  • 1 tsp pure italian hazelnut paste


Directions

  • Mix the egg whites with the sugar in a double boiler. Heat the mixture while stirring until the sugar has completely melted and it's opaque. To chech if the sugar has melted, rub some mixture between your fingers; if you do not feel any sugar in it, take the pot away from the heat.
  • Whisk the mixture up at high speed until it's completely cold.
  • Add the butter, cubed. Add only two or three cubes at a time, whipping up at every addition. Repeat until you have used all the butter. Whip until the buttercream looks smooth and light.
  • Add the hazelnut paste until fully incorporated.


Attention: if the meringue was not completely cold after whipping it up, the butter will melt when you add it and the buttercream will be too liquid. If this happens, put the bowl in the fridge for half an hour until you have reached the desired consistency and whisk it up again.

This buttercream can be stored in the fridge for a week and in the freezer for six-eight weeks. To thaw it, put it on the fridge overnight. In both cases, whip it for 5 minutes before using it.

You may buy bottled egg whites in order to avoid having to throw away the yolks. In that case, these are the conversion in grams:

10 egg whites = 300gr
5 egg whites = 150gr
3 egg whites = 90gr

To make the cake:

- Divide the cake horizontally in three or two layers. Put a bit of buttercream between each layer.
- Cover the entire cake with a thin layer of buttercream, to catch the crumbs, and put the cake in the fridge for half an hour.
- Put a thicker layer of buttercream on the cake, covering all the sides, and smooth it with a spatula.
- Decorate the rest as you wish, with a pastry bag.


I hope you liked it, these are the links with the pdfs: Basic Vanilla Cake and Hazelnut Swiss Meringue Buttercream


Anna

Tuesday, December 23, 2014

Cold Reindeer Cookies

Hello everyone!
We are almost at Christmas! Now it's time to be stressed out, buy lots of things and eat too much! Oh, it wasn't that, was it?


These poor reindeer, all wrapped up in their scarves, are just waiting for Santa to come...


Tuesday, December 16, 2014

Apple and Cinnamon Muffins

Hello everyone!

Here I come with yet another apple recipe. I know that recently I have been using apples for other recipes like the Apple Crumble or the Caramelized Apple Tartlets. The thing is, all these apples come from my parents orchard and I need to use them before they go bad. And there's a lot of them, believe me.


So I have to come up with new recipes and these Apple and Cinnamon Muffins turned out to be really good. Truth is, you can hardly go wrong by combining these two ingredients. 


These muffins are a great idea for breakfast or an afternoon snack. Plus your home will smell amazing after baking them!


Tuesday, December 9, 2014

Praline and Salted Caramel French Macarons

Hello everyone!

So I finally braved the Macaron! I must confess that I haven't even tried one up to less than a month ago. I went to Paris with two of my friends and practically our first stop was at Ladurée to taste them! 


The one I got there was the Salted Caramel one- or Caramel Fleur de Sel- and I haven't been able to take it out of my head since.


It's actually mesmerizing, to see all the beautiful cookies all aligned, with their pretty colors and amazing flavours- you could find the classic ones such as Raspberry to more rare ones like the Praline Sesame or Liquorice.


Oh, and all those beautiful cakes! They were like little works of art. I played it cool and only took a million photos, I may show you one day ;)


Making Macarons has not been easy for me, it has not been one of these recipes that you get on the first try. I found a recipe on Pinterest that seemed easy enough to me and tried it, and although some of them turned out OK, a lot of them did not. I had no idea why, since I followed all the steps. And then I found Food Noveau's "Macaron Troubleshooting Guide" and it saved my sanity. Ok, I am exaggerating a bit but, seriously, she has answers to all the questions you may have regarding the making of Macarons. 

Tuesday, December 2, 2014

Peanut Butter Cookies filled with Toffee

Hello everyone!

Today's recipe is the result of a bit of improvisation. Last week I bought a jar of peanut butter at the store without any recipe in mind. 


I investigated a bit at Pinterest and, although I found plenty of peanut butter cookie recipes, I wanted to do something different. I still had a little bit of toffee and the idea of mixing this two ingredients sounded appealing so I started thinking.


The result has been this amazing recipe. The cookies are quite big- they were baked in my favorite tartlet pans that measure 9cm of diameter. The exterior is crunchy but they are soft and chewy inside, filled with the toffee that will melt in your mouth.


Tuesday, November 25, 2014

Apple Crumble

Hello everyone!

Today's recipe is super easy. It's perfect for whenever you feel like having a homemade treat but not doing all what it implies -I'm talking about all the preparation, waiting and cleaning that entail baking something.


It's a super easy apple crumble. You probably have all the ingredients at home already. And I put the individual measures, so you don't need to divide anything (if it's just for you) but you can easily multiply the measurements if the dessert needs to be done for more than one. 


Probably you'll have to end up doing it more than once. The delicious smell of apples and cinnamon will fill your home and will give everyone a craving for it.


It's done in 30 minutes, you can pop it in the oven before having lunch or dinner and it will be done by the time you finish- so you can eat it warm!


Tuesday, November 18, 2014

Caramelized Apple Tartlets

Hello everyone!

One of my favorite things about Autumn is apples. There is a big apple tree in my parents orchard and it has my favorite apples in the world. They are crisp, big and slightly tart and I love them. Every year my dad brings me a crate full of apples from the orchard. And every year I make a caramelized apple tart.


I decided to do tartlets instead this year. They are great as a dessert but, actually, eat them whenever you feel like. Really, no need for excuses, they are that good. And it will be difficult to eat just one.


Put some more toffee when you serve them, let it drip onto the plate. 


Caramelized Apple Tartlets

Sunday, November 16, 2014

DIY Homemade Toffee

Hello everyone!

Today's DIY goes together with next Tuesday's recipe but it's a homemade toffe that you can put anywhere you want to.


It's really delicious and, even better, super easy to do. You just need three ingredients (yes, just three) and you probably have them already at home.


Tuesday, November 11, 2014

Chocolate and Vanilla Layer Cake

Hello everyone!

Today's recipe was my very first order. My friend wanted a cake to celebrate her birthday with her family and she asked me to do it.


Pretty, huh? It's a chocolate and vanilla layer cake with milk chocolate swiss meringue buttercream. 


The swiss meringue buttercream recipe was from Baking a Moment's blog, with a little change. You can see her recipe following this link, she has a very useful step by step.


Tuesday, November 4, 2014

DIY: Colored Sugar

Hello everyone!

Today's "do-it-yourself" is very easy. You barely will use the oven and it has endless possibilities.


Surely you must have seen those little colored sugar packages in the supermarket. And you may have thought that, considering they are nothing more than sugar with some food coloring, they are kind of overpriced.


I mean, it's just sugar, right??


In this step-by-step I have only used pink food coloring. The same color has produced four different shades of pink, the only difference being the amount of dye used in each batch.


DIY: Colored Sugar

Ingredientes (yields 100g colored sugar)

  • 100g sugar
  • Paste food colouring
  • Water


Directions


  • Mix in a small glass, a couple of drops of paste food coloring with a little bit of water (half a teaspoon).

  • Pour the sugar in a bowl and sprinkle it with a couple of drops of food coloring. Mix well. The intensity of the color will depend on how much you put. You can start with a soft color so you can darken it little by little.

  • Take 25g of the already dyed sugar and put it in a small jar. This sugar won't stick in your fingers when you touch it; this means that can be stored directly.
  • Add more colouring to the sugar still in the bowl. When we have reached another desired color, take 25g more and place it in a cake pan or baking tray, previously covered with baking paper. Repeat this step as many times as different colors you want to do.
  • The sugar must be well distributed on the tray in order to avoid the formation of lumps.

  • Pre-heat the oven at 50ºC (122ºF) and put the trays at mid height for 10 minutes. Bear in mind that the more coloring you have put in the sugar, the more wet will be and it will need more time. However, you should bake it for more much time than those 10 minutes since it could melt. If, when the 10 minutes have passed, the sugar is still too wet, break the sugar lumps with a knife and put the tray in the oven for 5 more minutes.
  • When you take the sugar out of the oven, it will have formed lumps. Pour them in a bowl and mix them with a spoon, they will break easily. Touch the sugar with your fingers to make sure that is completely dry.
  • Keep it in the glass jars, in a dry and cool place.


Now you have seen how easy it is. And you can do it with any color you want!

Here's the link with the pdf: DIY: Colored Sugar

Anna

Spooked Cookies

Hello everyone!!

It seems that Autumn finally has come to Barcelona. I say that because a week ago we could still wear shorts on the street. It's not like we have had a very drastic change of weather but still, you can feel it.


Autumn implies, inevitably, Halloween. Even though it's not a tradition here- our custom is to eat roasted chestnuts and Panellets- there is more and more people who dress up during this magical night.


Hence the poor cookies are terrified!


Stop scaring them!


Sunday, November 2, 2014

DIY: Blackberry Jam and Syrup

Hello everyone!

If the last two recipes are any indication, you will know that I have been in possession of a good amount of blackberries lately. The main culprit is my sister's dog, Curro, who happens to be an excellent blackberry hunter! Just look at him! He even chooses the ripest ones!


We only had a small container but it was enough for at least 4 cakes and then some. But, of course, the blackberries would have ended going bad if I kept waiting for another recipe to inspire me. 

 
Of course, jam was the answer. But not any recipe. I looked for ideas in Pinterest and found this Blackberry Simple Syrup by Living better together. I did not, however, follow her recipe completely, and I ended up not only with syrup but also with a small jar of jam.


I used this jam in my last cake, Chocolate and Blackberry Cake, as a filling. It gives a touch of bitterness to the sweet flavour of chocolate and cream cheese frosting.

Tuesday, October 28, 2014

Chocolate and Blackberry Cake

Hello everyone!

Today's recipe is three layer chocolate cake, with homemade blackberry jam and cream cheese frosting.


Although it demands a little bit of time, the recipe is not that hard, actually, and the results are really pretty.


Blackberries and chocolate are always a good combination, right?


And here comes the recipe!


Tuesday, October 21, 2014

Rustic Pear and Blackberry Tart

Hello everyone!

Today's recipe is another easy one. It involves pears and blackberries and brown sugar and not much more. Really easy.


In fact, you don't even need a tart mold.


It's sweet but not sickly sweet, it's the perfect dessert after a big meal.